TripStax Support Centre
In the TripStax Support Centre, you will find the documentation for the TripStax products you have taken, as well as an introduction to other TripStax products:
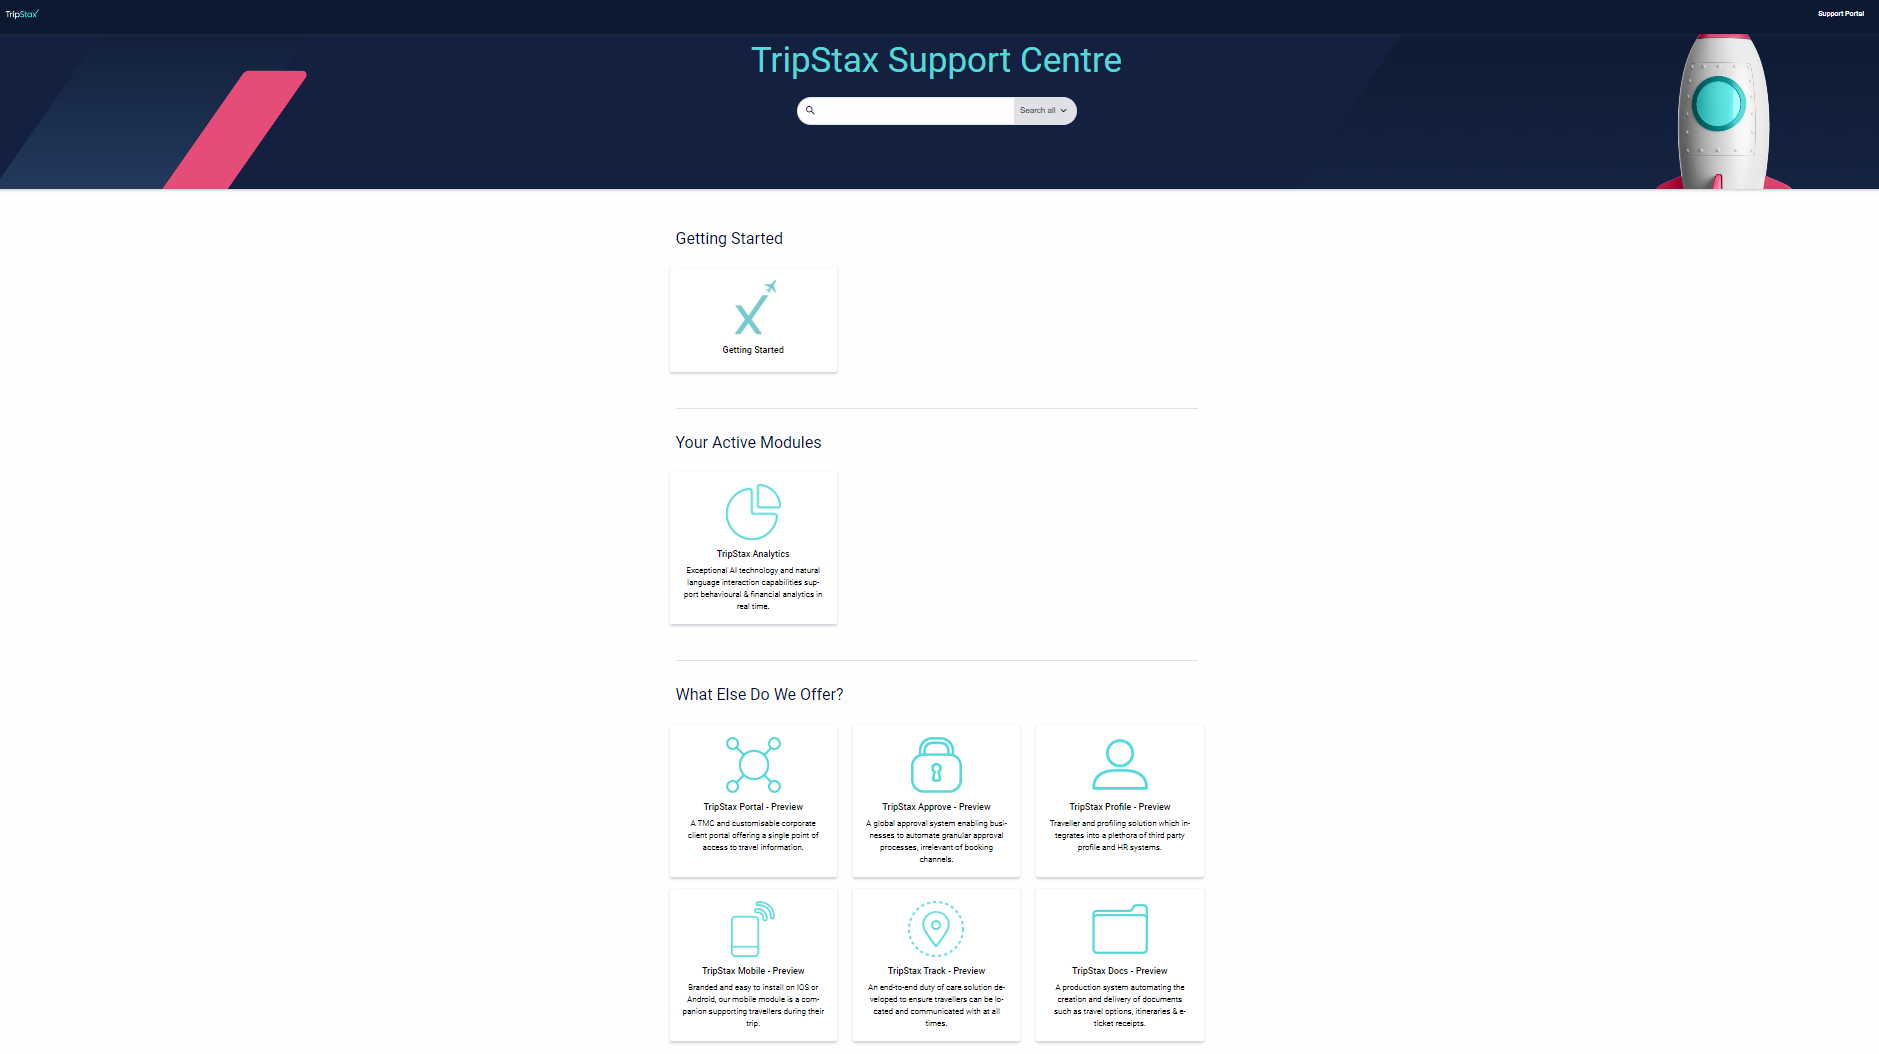
✍️ Your portal homepage may look different from the above screenshots as each site configuration is client-based.
Under Your Active Modules, you will find the complete documentation for all the TripStax modules you have taken. You will also find previews for other TripStax products.
Support Portal
From the TripStax Support Centre, you can access the Support Portal to raise requests related to TripStax products.
On the right-hand side of the header, click on “Support Portal”:
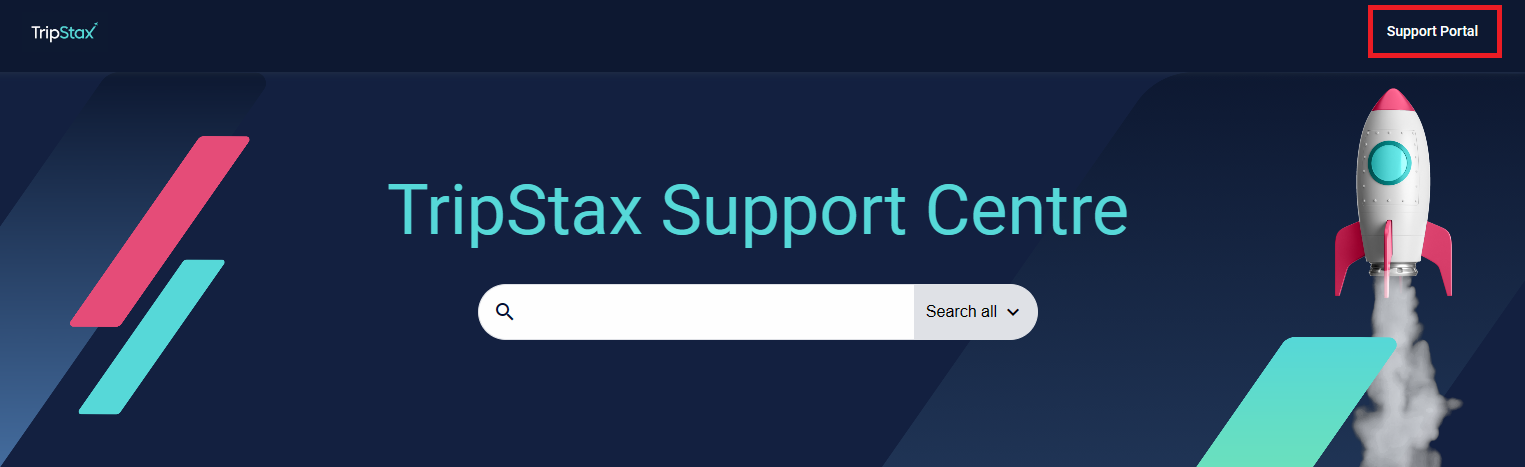
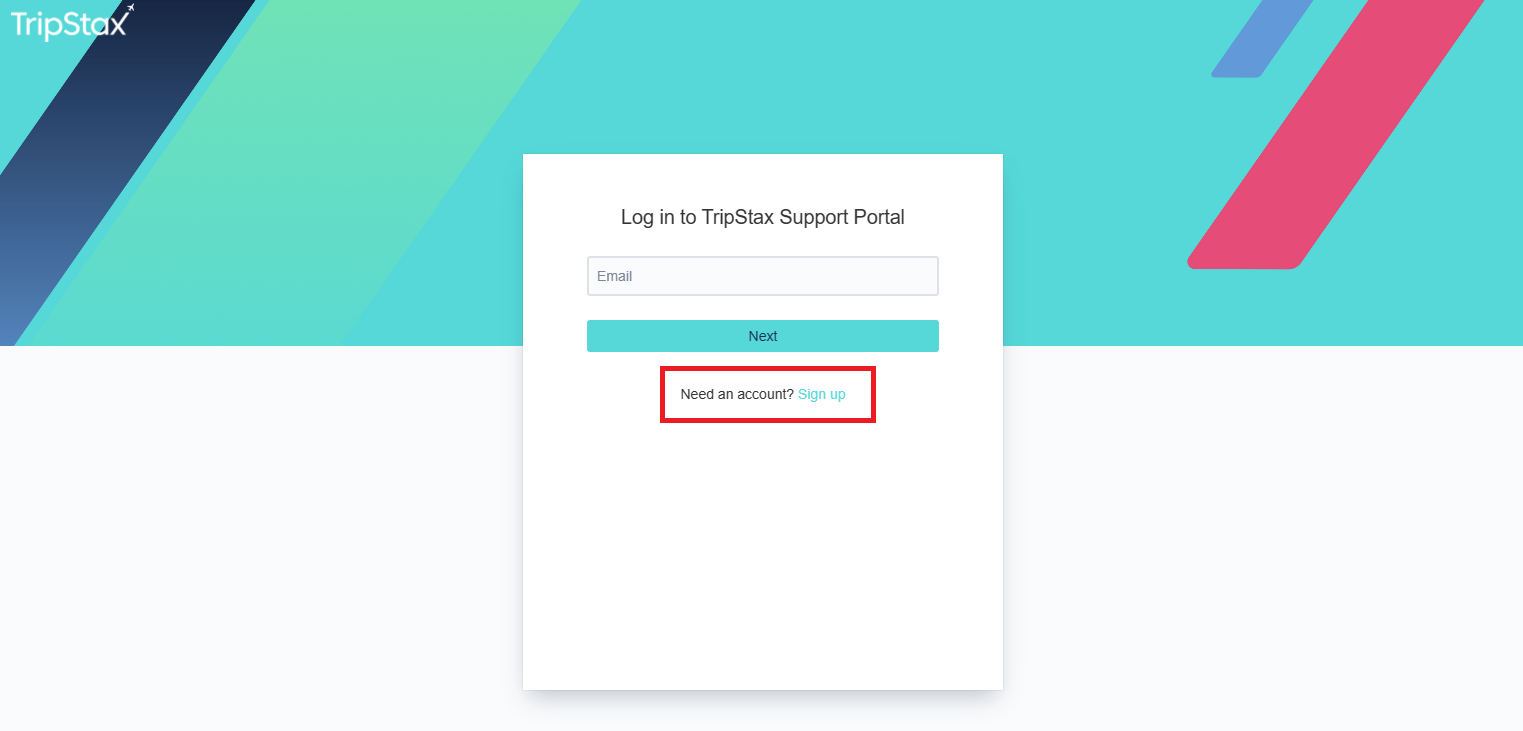
You will be redirected to the Support Portal login screen:
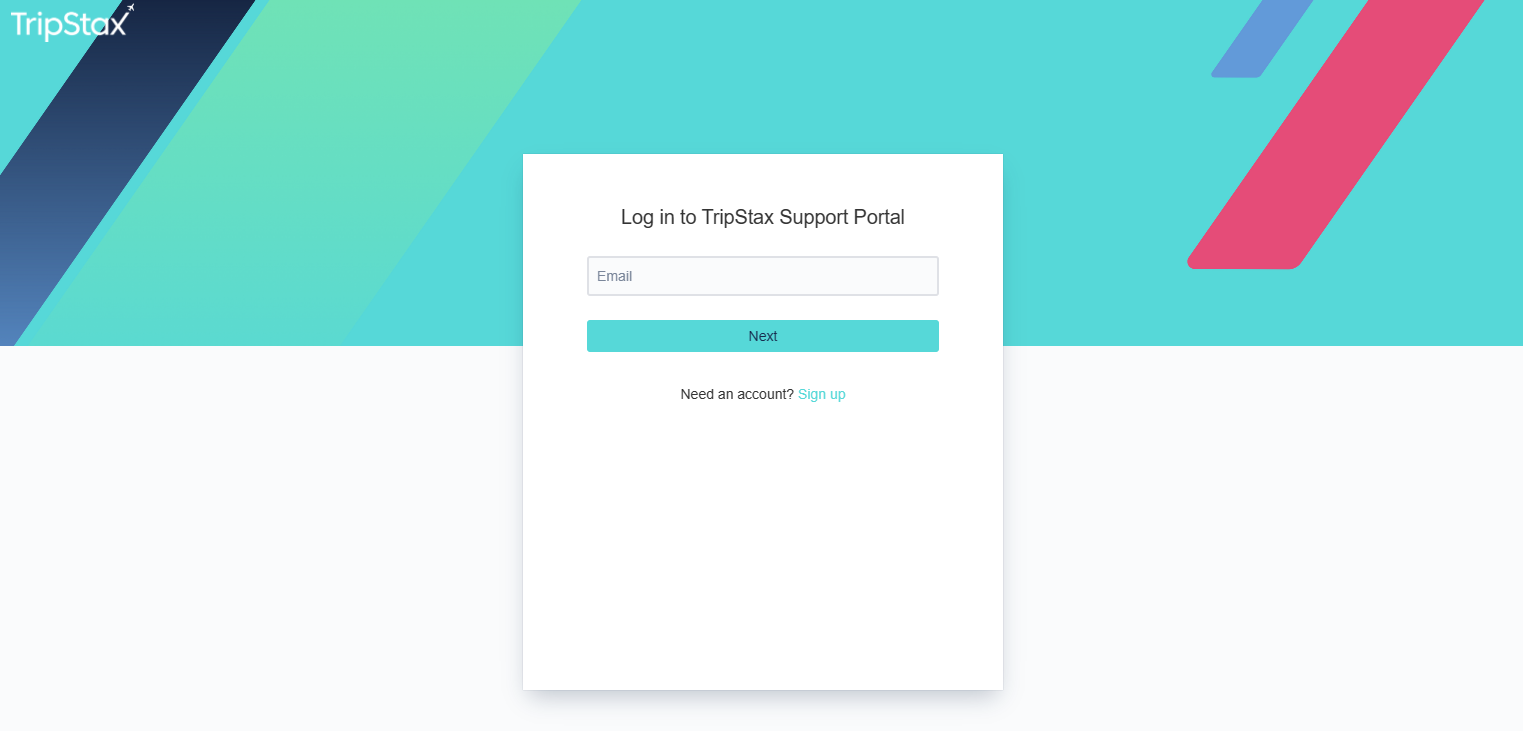
The first time you use the Support Portal, you will need to sign up for an account:
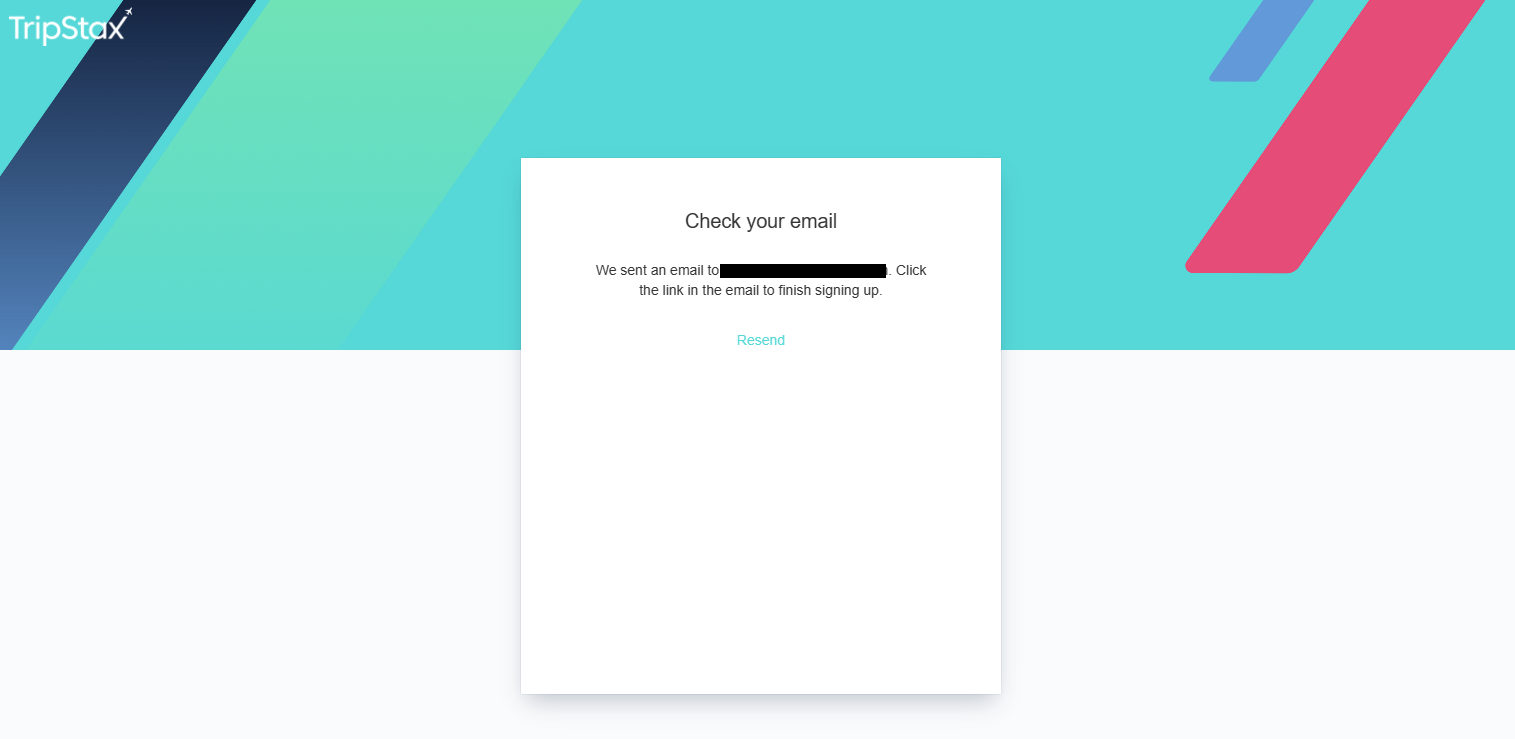
Add your email address and click on “Send link”:

An email will be sent to the address entered:
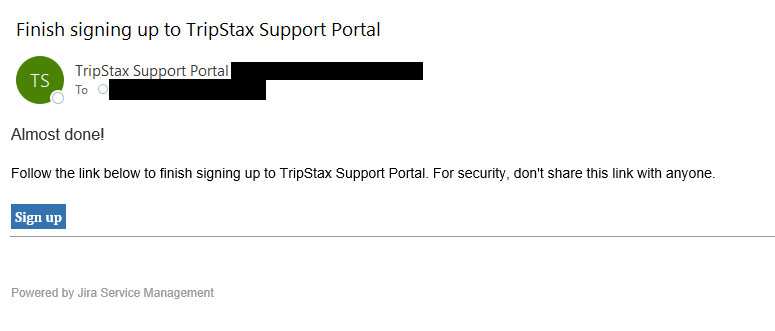
Click on “Sign up” in the email you received:
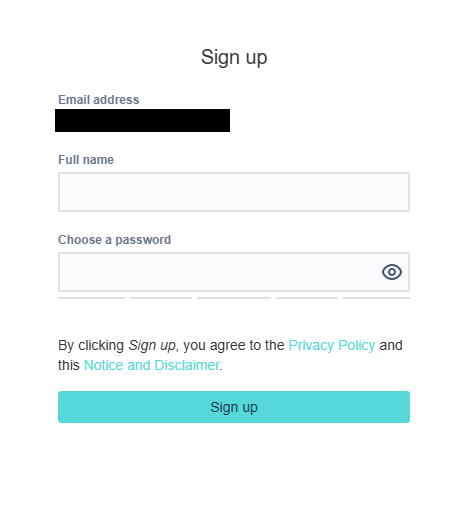
Enter your name and choose a password to complete the setup:
In the Support Portal, you will find a list of all the TripStax Products:
-
Analytics
-
Approve
-
Content
-
Docs
-
Track
-
Mobile
-
Portal
-
Profile
-
Other
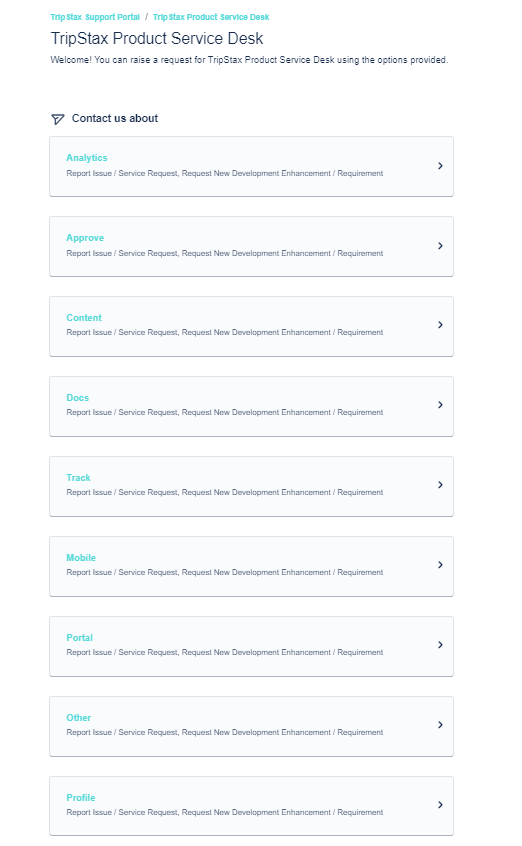
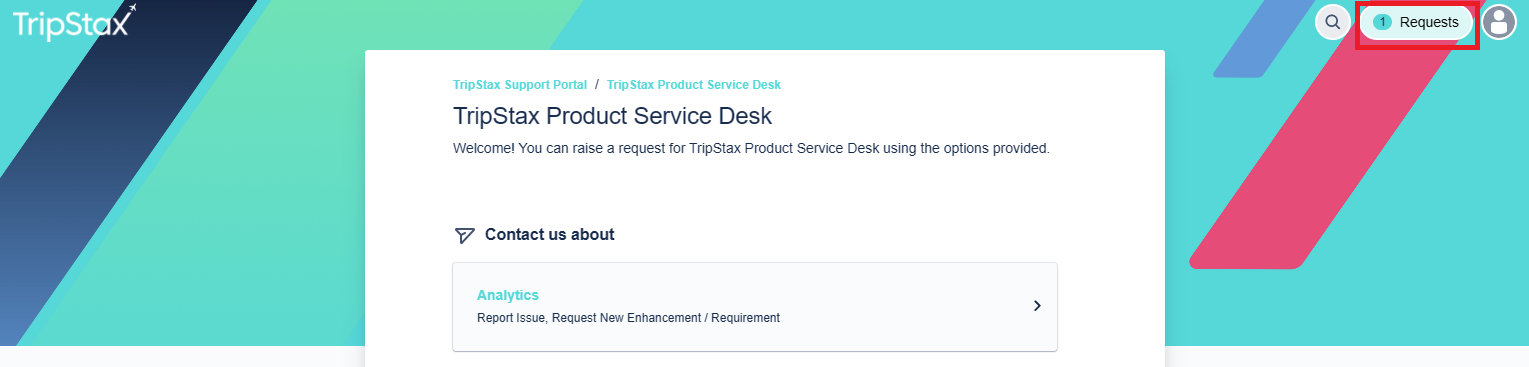
Select the relevant product you need to raise a request for, and then you will see the various categories you can submit a request for:
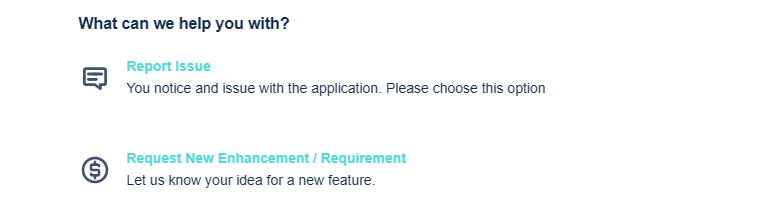
Select the relevant category based on your enquiry and fill in all the fields pertinent to the issue you are raising:
|
Field |
Description |
|---|---|
|
TripStax Product Name |
The name of the TripStax product related to the request. |
|
Summary |
The summary of the request. |
|
Description |
A description of the request. Include all relevant details. |
|
Impact |
The impact of the request. |
|
Urgency |
The level of urgency of the request. |
|
Attachment |
Attach any relevant supporting documentation. |
Note: the fields marked with an asterisk are mandatory. If you don`t fill in a mandatory field, an error will be returned, like the following example:

Once the form is complete, click on “Send”. On the Support Portal, you will see the submitted request:

You will receive an email to advise we have received your request; the subject of the email will display the request number:
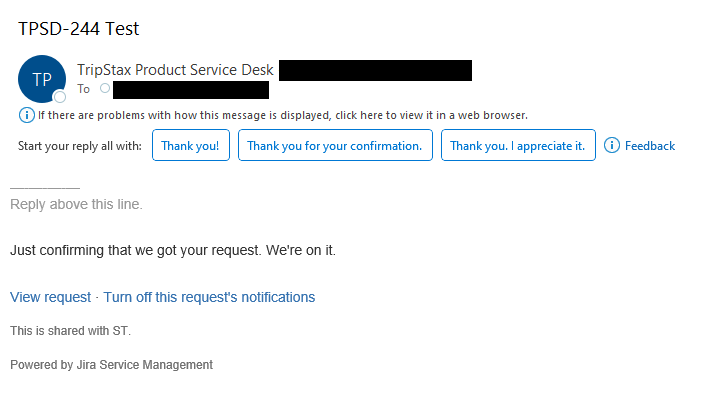
You can click on “View Request” from the email to return to the Support Portal:
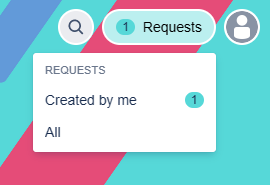
When logged in, you will be able to view all the requests you have raised on the Support Portal by clicking on the “Requests” link on the right-hand side:
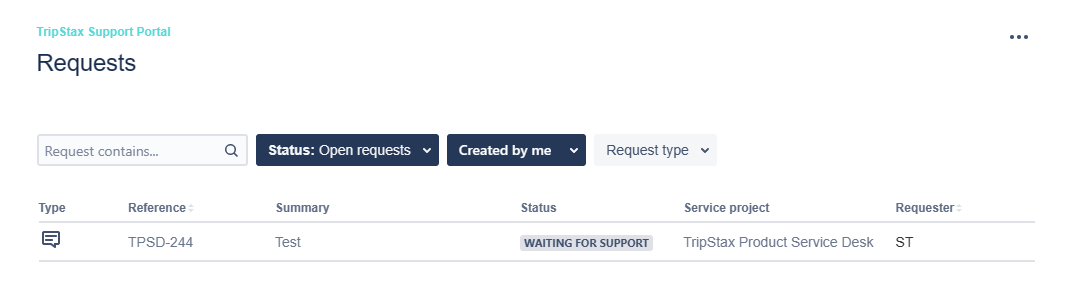
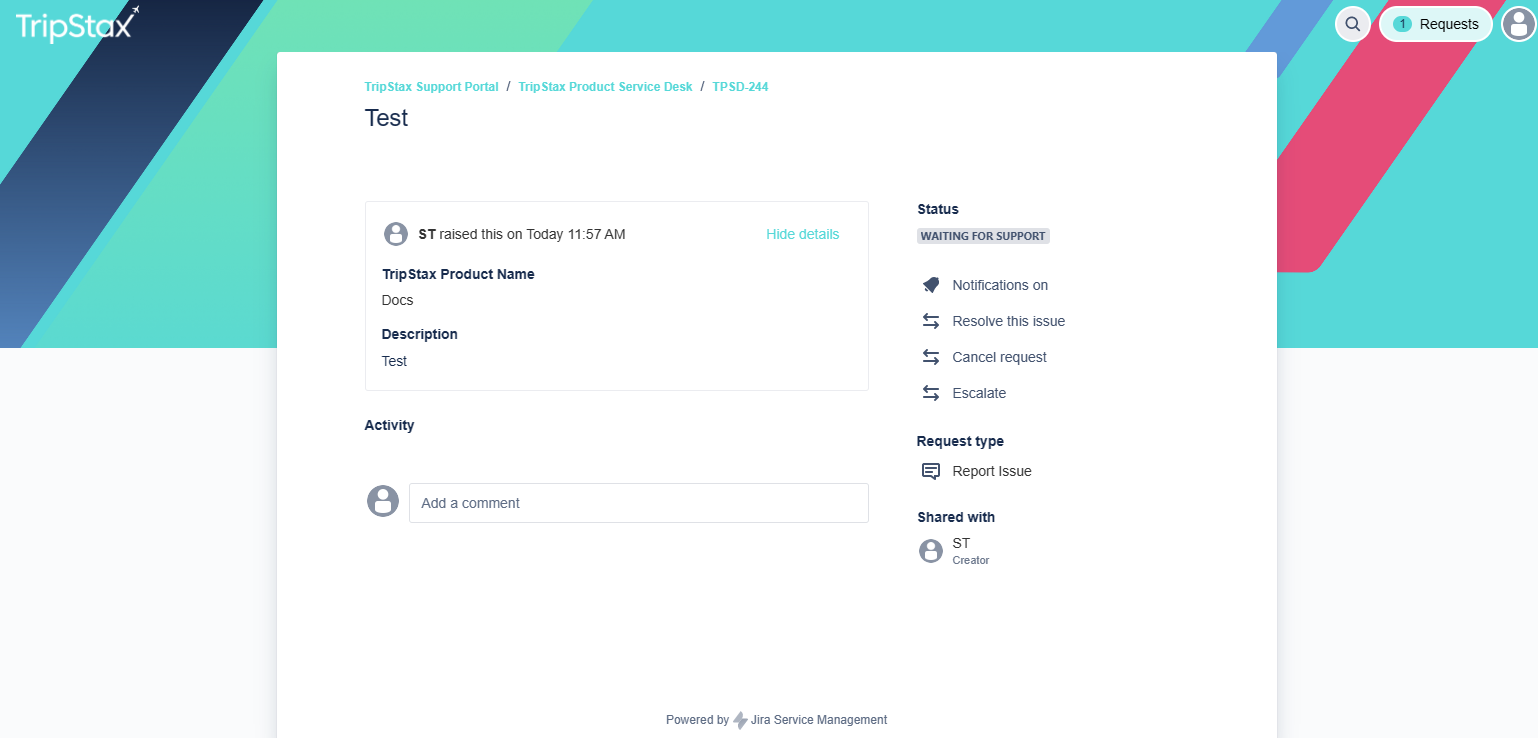
By clicking on the reference or summary, the request details will be displayed:
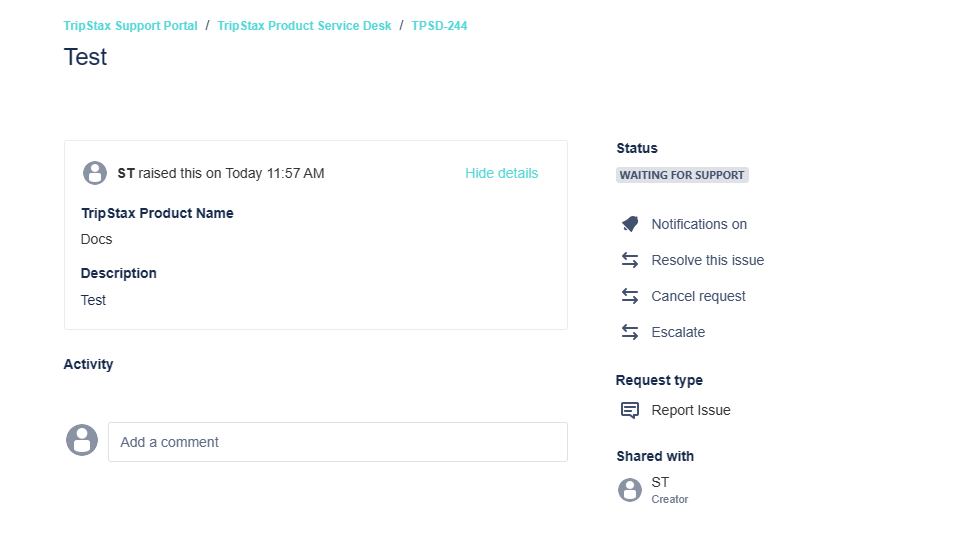
Whenever there is an update to the ticket, you will also receive a notification via email unless you have turned off the notifications for a specific request.
Subsequently, you will need to log in to the Support Portal to send new requests; the confirmation will be sent to the email address you used to log in.
When you are logged in and submit a new request, you might also see the following field at the bottom of the request form (if set up for your organisation):
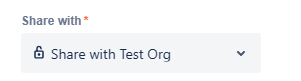
This will enable you to share your request with everyone who is part of the group set up for your organisation (note: the above screenshot shows a test organisation).
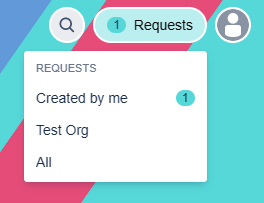
When you view requests by clicking on the “Requests” link on the right-hand side, you will see a link to view the requests created by you as well as by anyone else in that group if they have also shared the request with the group:

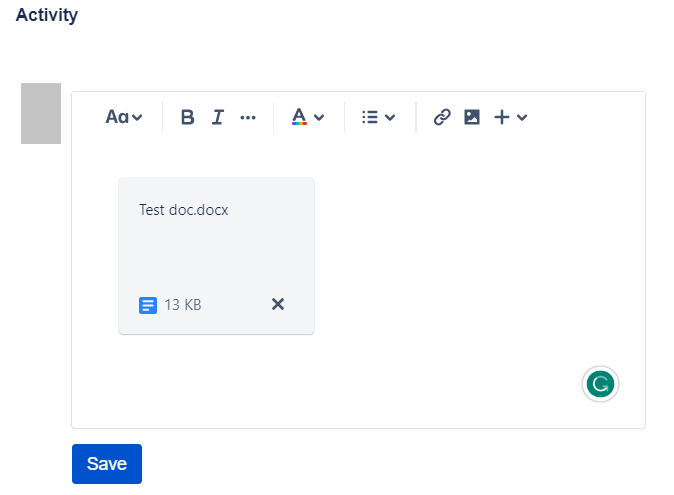
You can add attachments to existing requests. Retrieve the request in the Support Portal:
Open the relevant request by clicking on the reference number or the summary:
In the comment box, click on the “Files & images” icon:
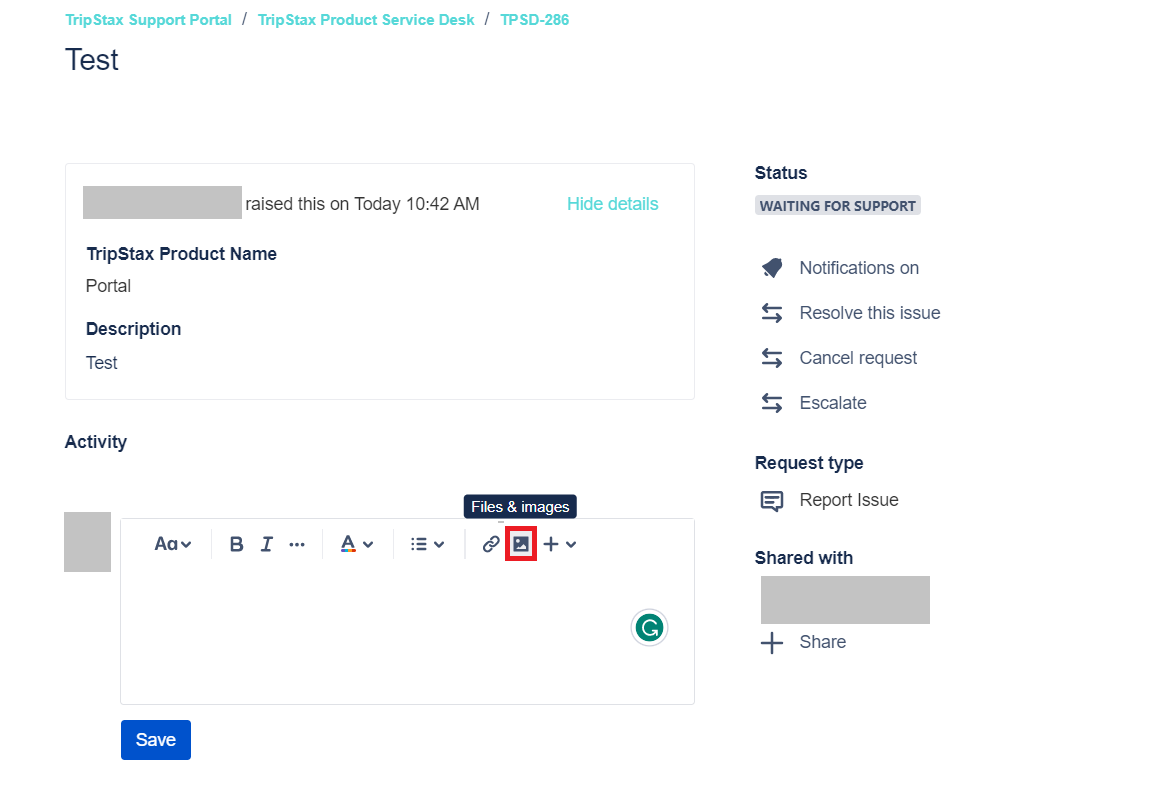
And add the attachment: