Sync with TripStax Profile
The TripStax Mobile application is integrated with TripStax Profile.
A user needs to be set up in TripStax Profile before you can use the mobile app; the same credentials can then be used to access the TripStax Mobile application.
The user profile and the wallet are synced between TripStax Profile and TripStax Mobile.
Not all user details can be edited in the TripStax Mobile app, but anything edited in TripStax Profile will be synced with the TripStax Mobile app.
Features
The TripStax Mobile app provides various features with a user-friendly UI:
The homepage interface consists of five tabs:
-
Home
-
Itinerary
-
Booking
-
Account
-
Settings
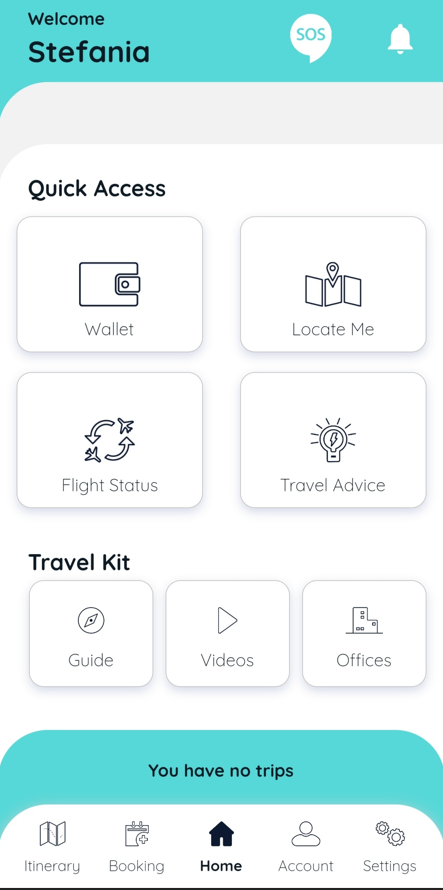
The Home tab contains the following sections:
-
Quick Access
-
Travel Kit
The Quick Access section provides access to the following sub-sections:
-
Wallet
-
Locate Me
-
Flight Status
-
Travel Advice
The Travel Kit section provides access to the following sub-sections:
-
Guide
-
Videos
-
Offices
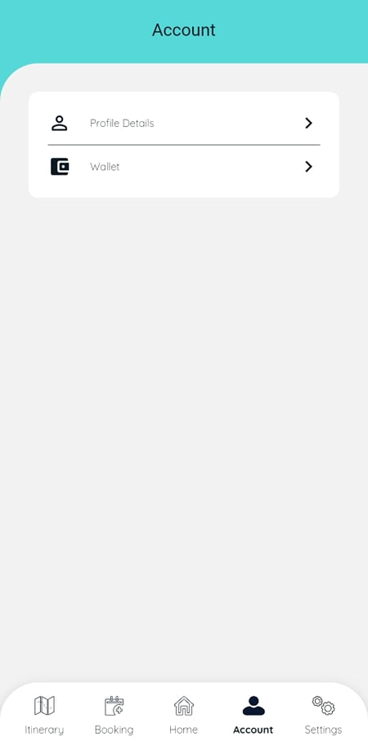
Account
In the Account section, you can view:
-
Profile Details
-
Wallet
Profile Details
The profile details of the traveller are shown in this section:

All the personal information added in the TripStax Mobile app is automatically synced with your profile in the Profiles application (and vice-versa). Therefore, every time you update your details in TripStax Profile, your details will be automatically updated in the Mobile app).
Wallet
A virtual wallet where you can store:
-
Passport details for all the passports you hold
-
Visas details for all the destinations you are travelling to
-
Loyalty cards for airlines, hotels, and car rental companies
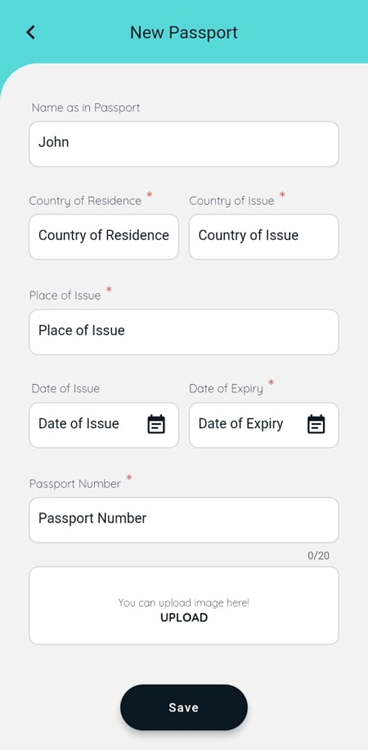
The system will allow storing only two passports:
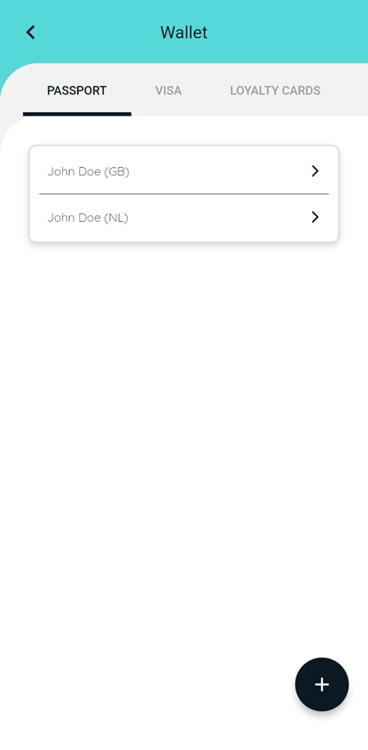
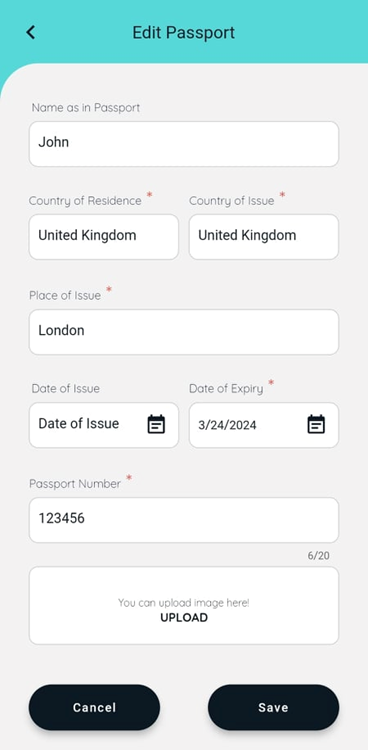
You will be able to add and edit passport details from the app:
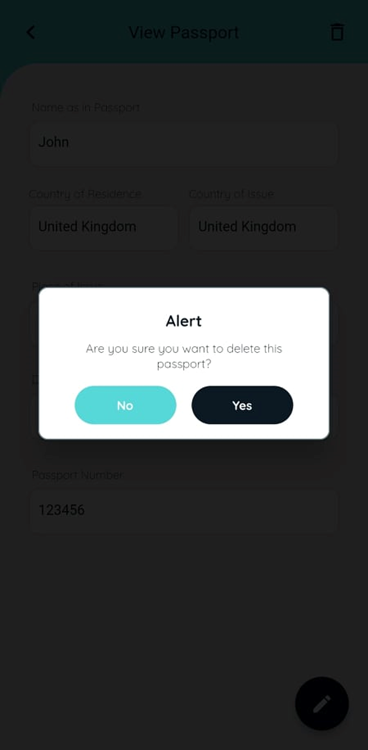
You will also be able to delete passport details from the app:
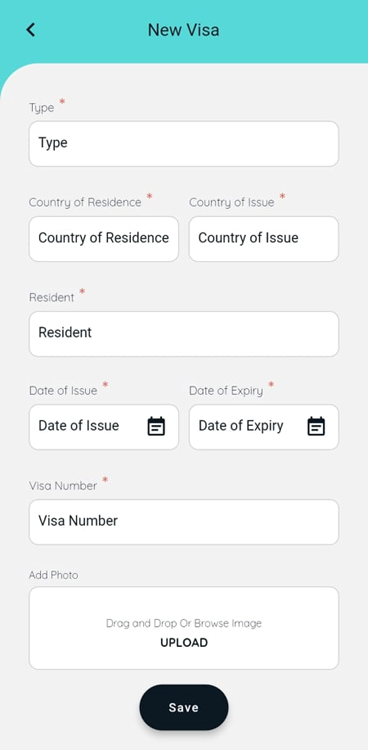
The Visa section will display the list of the Visa cards added by the user:
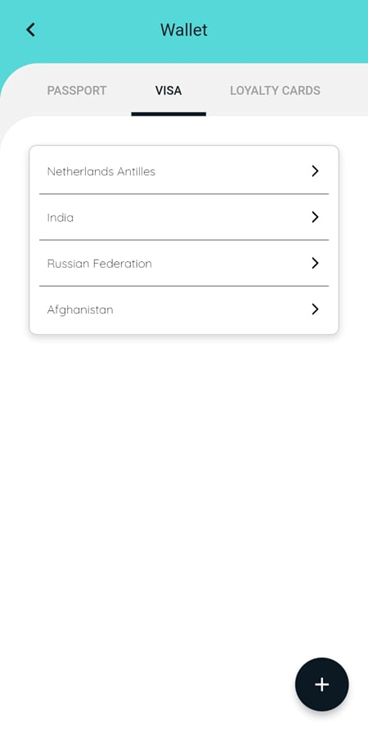
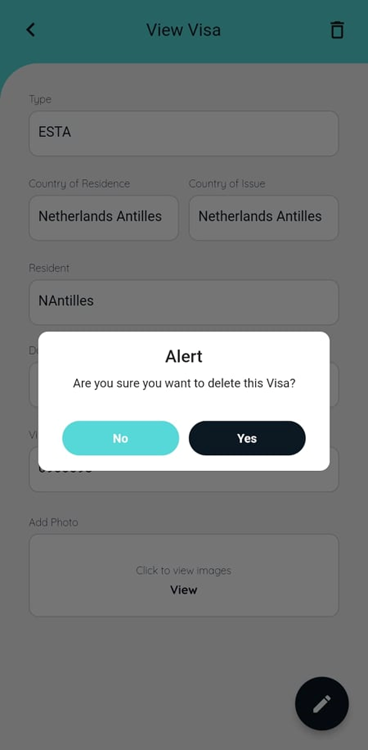
You will be able to add and edit visas from the app:

You will also be able to delete visa details from the app:
The loyalty sections will display the list of available services for which you can add loyalty cards:

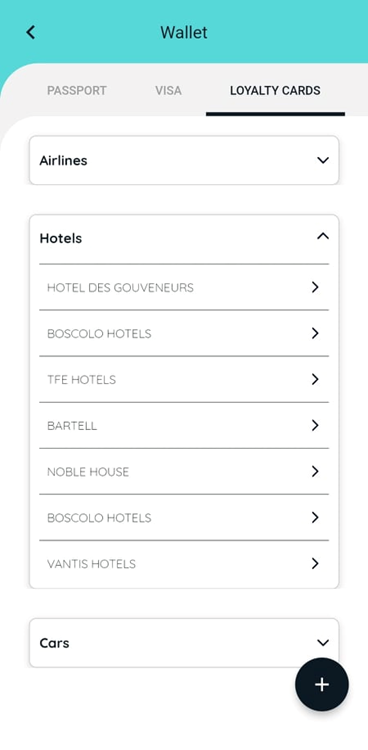
You will be able to add, edit and delete loyalty cards for the different services.
The system will allow a maximum of 10 loyalty cards.
SOS & Locate Me Functionalities
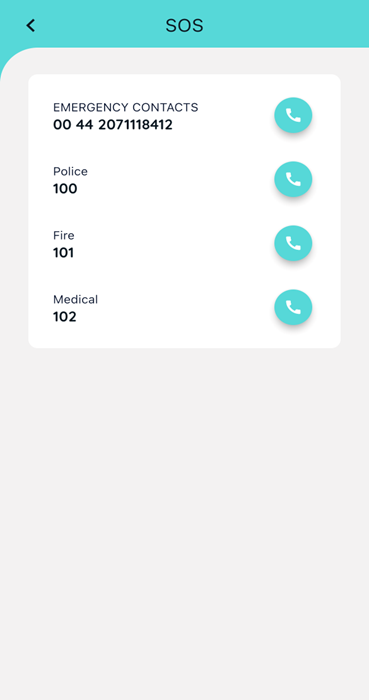
The TripStax Mobile app provides an SOS functionality:

When you tap on the “SOS” button, the emergency contacts relevant to your location will be displayed:
The TripStax Mobile app also provides a Locate Me functionality:
This feature enables the traveller to share their current location with our support team in an emergency to get help/support.
By tapping on Locate Me, a popup window will display a menu for the traveller to send their location:
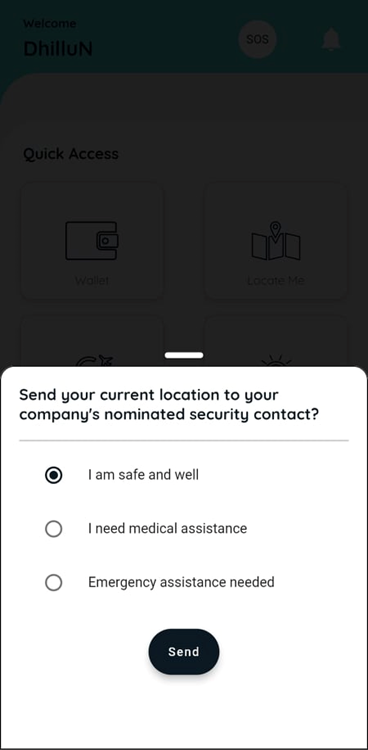
Based on the emergency, tap the desired option.
In case of an emergency, email communication will be sent to the email configured in the Corporate info/details.
You will need to nominate security contacts during the registration if you opt to have the Locate Me functionality available in the app for your users.
The Locate Me feature is entirely configurable, i.e. this feature is only available if a client opts for it. If a client does not opt for this feature, the Locate Me tile will be replaced with the Notification tile:

Notifications
The TripStax Mobile app provides a notifications functionality.
When you tap on the Notifications tile on the homepage, the system will display the notifications available:
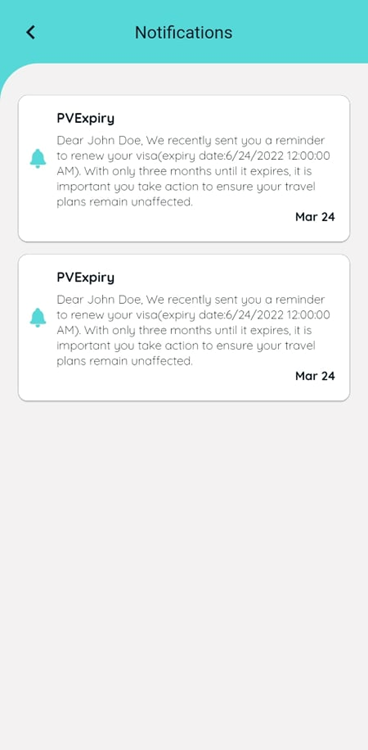
Several types of notifications can be received via the app:
-
Flight departure times
-
Flight delays information
-
Schedule changes information
-
Passport expiration date
-
Visa expiration date
-
Loyalty cards' expiration date
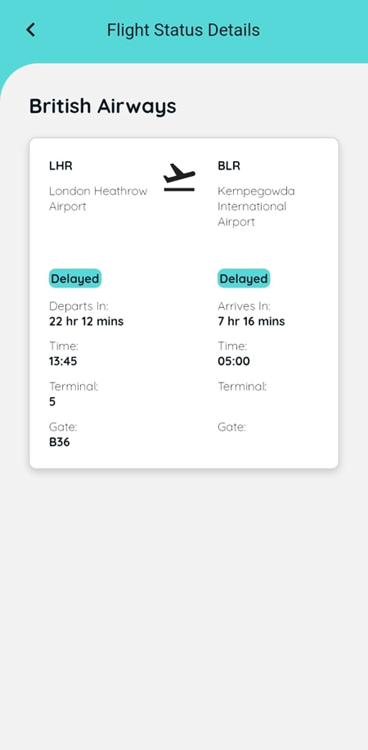
Flight Status
The Flight Status section will allow you to search for the status of your flights.
It will display the status of the previous day, the current day, and the next day of the flight booked:
The following flight details will be advised via integration with Flight Stats:
-
Flight times information
-
Terminal information
-
Gate information
Travel Advice
This feature will provide travel advice for trips between two countries:
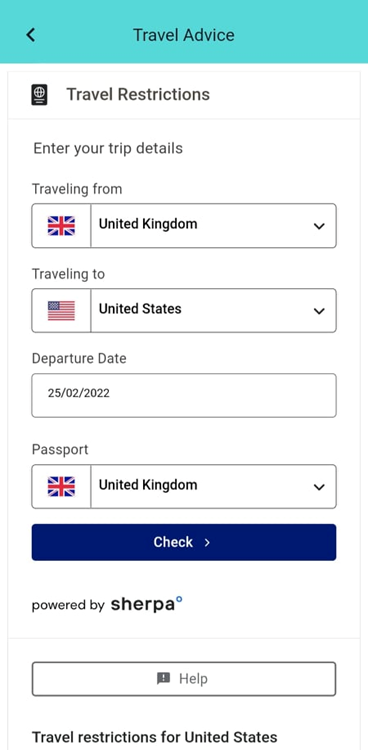
This section will give you access to travel advice for your destination on:
-
Travel restrictions
-
Information on Covid testing requirements
-
Visa requirements
-
Forms and documents
-
Relevant additional information

Travel Kit
Under the Travel Kit section, you will find the following sub-sections:
-
Guide
-
Videos
-
Offices
Guide
The travel guide provides information about countries, listing:
-
Emergency contacts
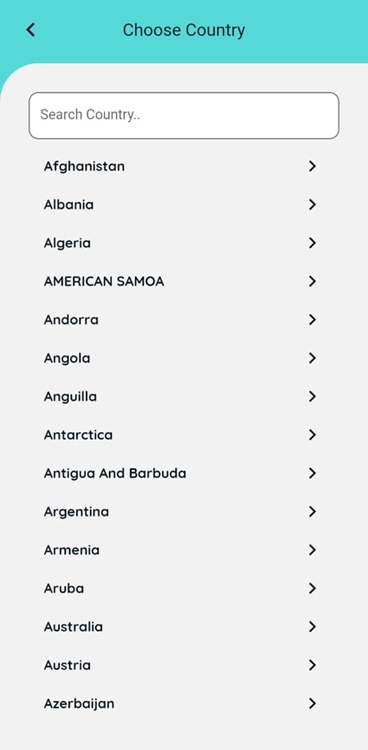
The list of countries will display:
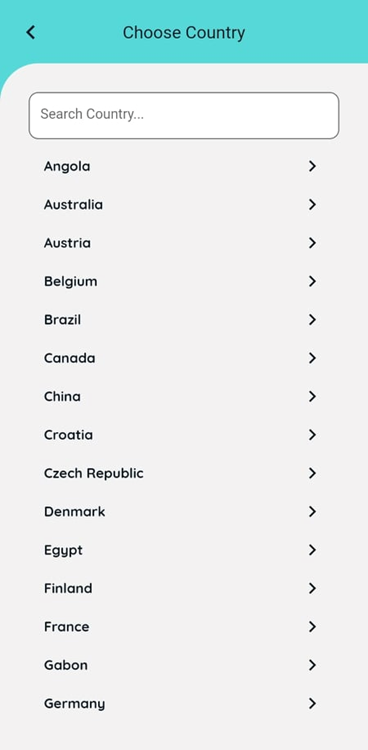
Choose a country to view the emergency contacts for the following departments:
-
Police
-
Fire
-
Medical

Videos
This feature will provide important videos regarding the country selected by the traveller:

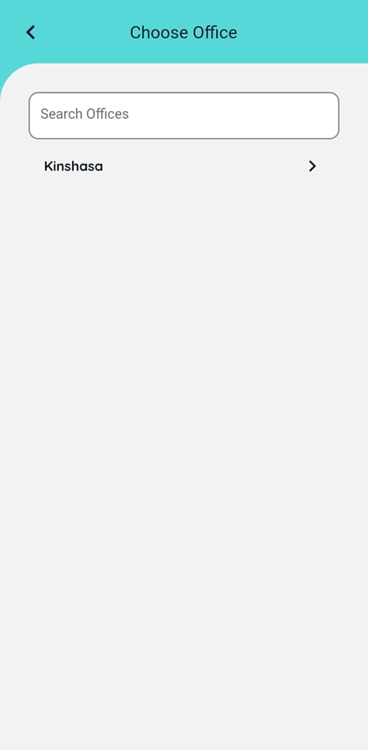
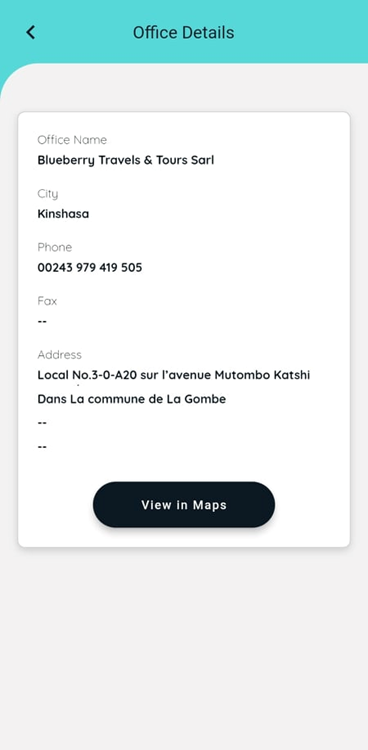
Offices
This feature displays the Corporate offices across the globe.
Addresses and maps for your company’s office locations will be displayed here:

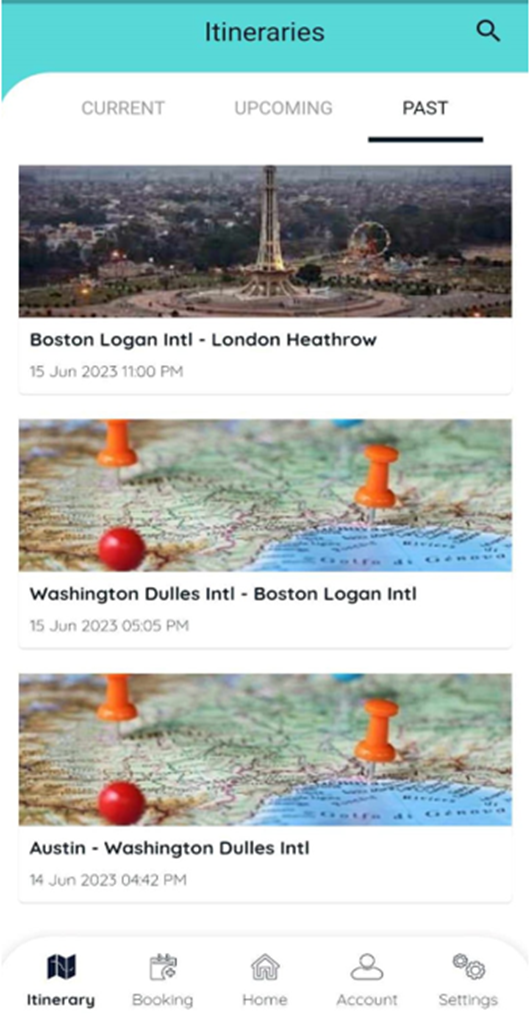
Itinerary
In the Itinerary section, you will be able to see your:
-
Current trip
-
Upcoming trips
-
Past trips
Upon tapping Itinerary, by default, the system will display the Current trips:
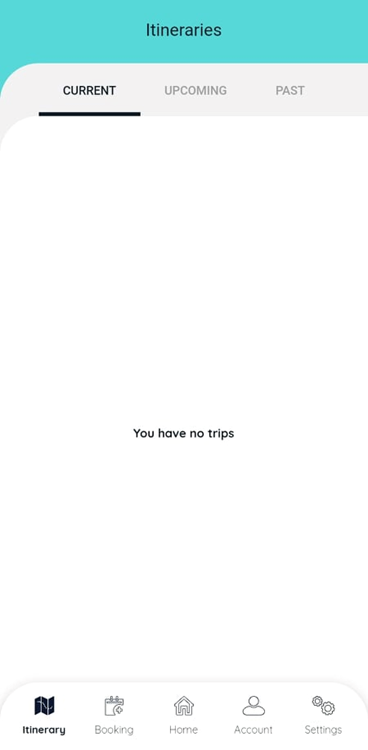
To view future trips, tap Upcoming. The system will display upcoming trips:

To view past trips, tap Past. The system will display all your previous trips:

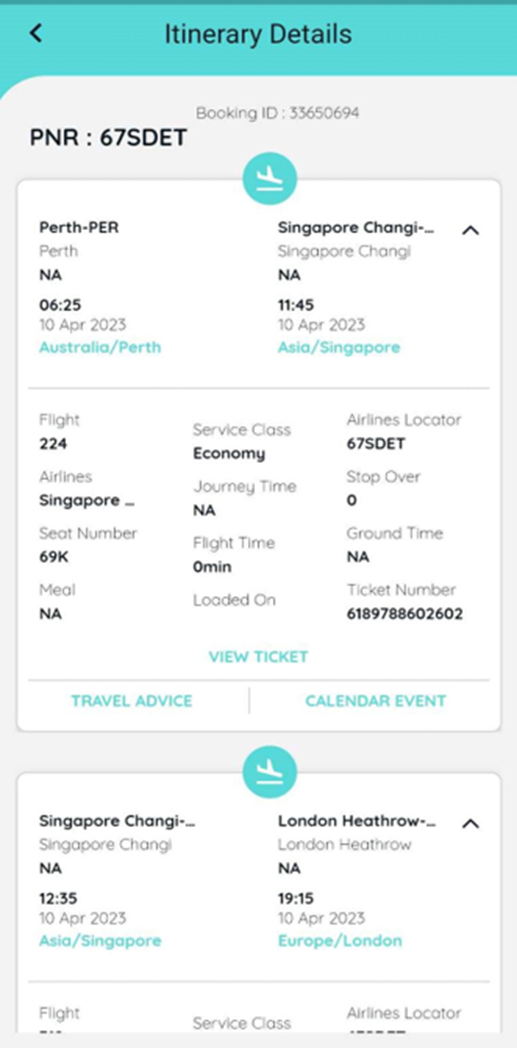
All the information relevant to your trip for your flight, hotel and car rental are stored within the itinerary:

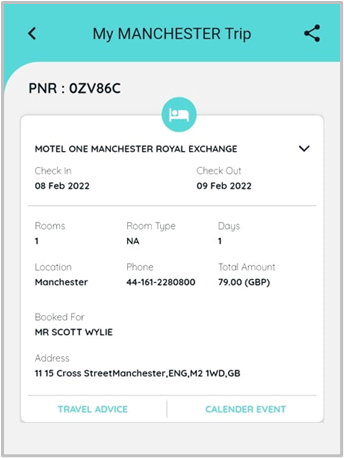
You will be able to:
-
Tap on the Share icon to share your trip details
-
Tap on Travel Advice to get redirected to the Travel Advice screen
-
Tap on Calendar Event to create an event in your phone’s calendar
Booking
This feature will allow you to do a new booking.
This feature will be available to users in the TripStax Mobile app only if your Corporate has access to the TripStax Portal and it allows the user to make a new booking.
Tap Booking. The system will display the following screen with all the available Online Booking Tools (OBTs) you have access to:
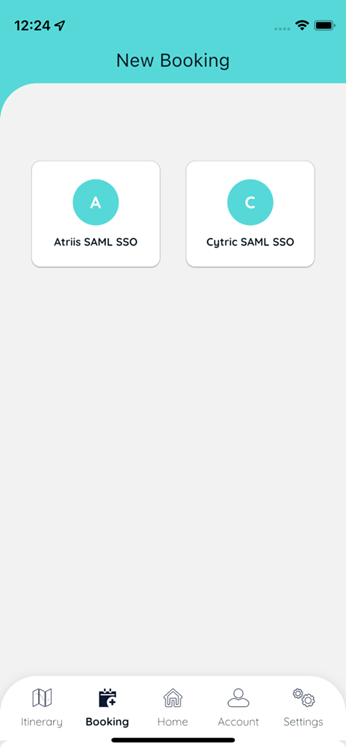
The OBTs you can access will be configured at the Corporate level in TripStax Profile. You can access OBTs you are registered with from this screen.
Users with OBTs access should have installed the relevant OBT app on their devices and authenticate themselves in the OBT app before they try the booking option from the TripStax Mobile app using the OBT.
If you tap on any of the OBTs listed, you will be redirected to the OBT’s website with a single sign-on, without being asked to log in. You will be able to access the OBT features from the Mobile app to make new bookings and amend and cancel existing bookings.
Face ID/Touch ID/Fingerprint Feature
Based on the device hardware capabilities, users can enable the relevant biometric authentication on their device for the TripStax Mobile app.
iOS offers the following biometric capabilities (depending on the device’s model):
-
Touch ID
-
Face ID
Android offers the following biometric capabilities:
-
Fingerprint
Users will need to enable the available biometric authentication on their device.
Within the TripStax Mobile app, the user will login as explained in paragraph 4.1; user will be then prompted to enable biometric authentication:

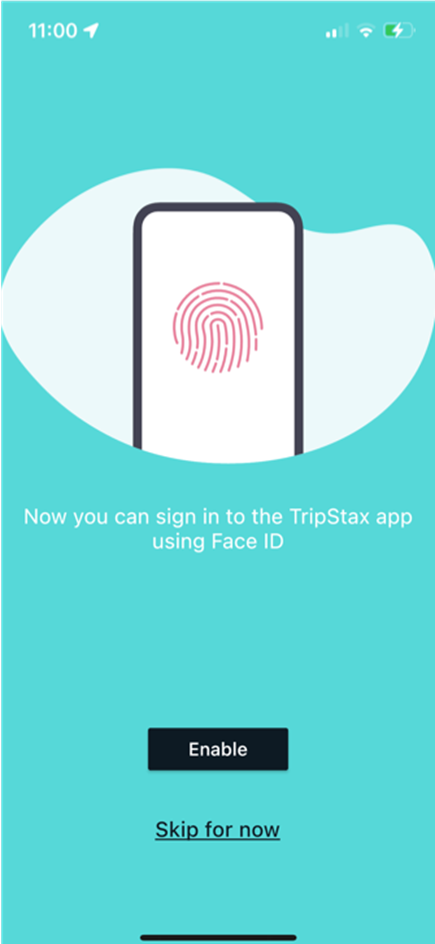
Users will be able to skip enabling the biometric authentication by clicking on Skip for now.
When users have enabled the biometric authentication after the login, they will no longer need to go through the verification code flow from the next launch and the biometric authentication will apply.
If the biometric authentication has not been enabled, users will need to pass through the verification code flow, and upon every successful login they will be given the option to enable Face ID/Touch ID/Fingerprint.
24/7 Emergency Contact Number
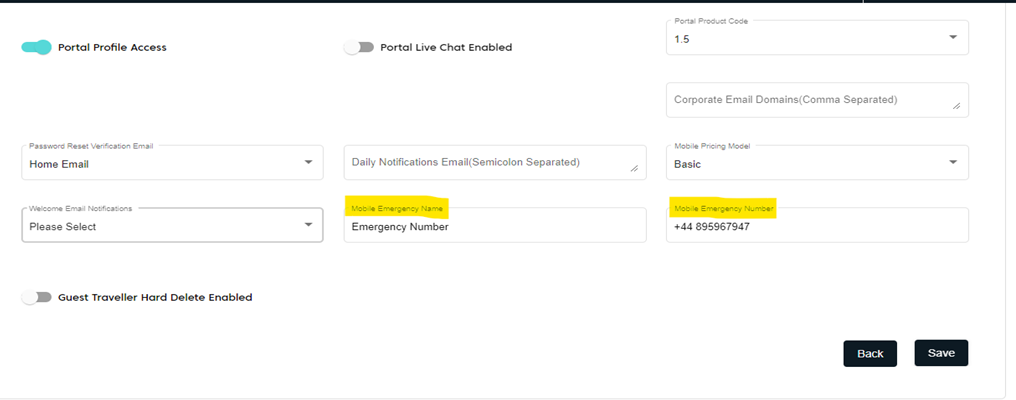
Travel agents can add and edit the 24/7 Emergency Contact Number and Name in the Corporate settings screen in TripStax Profile, as shown in the below screenshot:
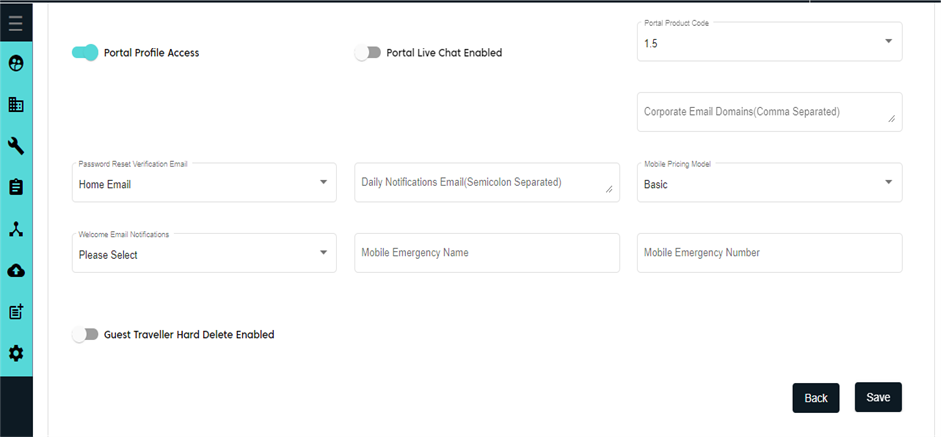
Navigate to Add/Edit Corporate Settings Tab to add or update the 24/7 Emergency Name and Contact Number:
The same Contact Number can be viewed in the SOS section in the Mobile App.
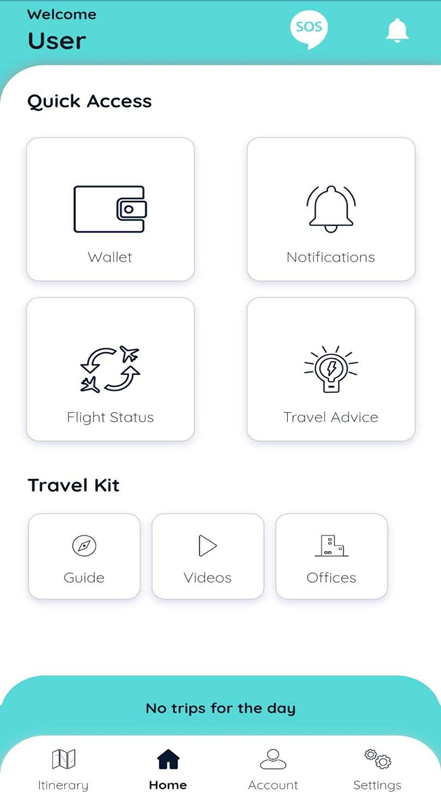
Steps to view the 24/7 Emergency Contact Number in the Mobile App:
-
Open the mobile app.
-
Log in to the app.
-
Tap on SOS on the home page.
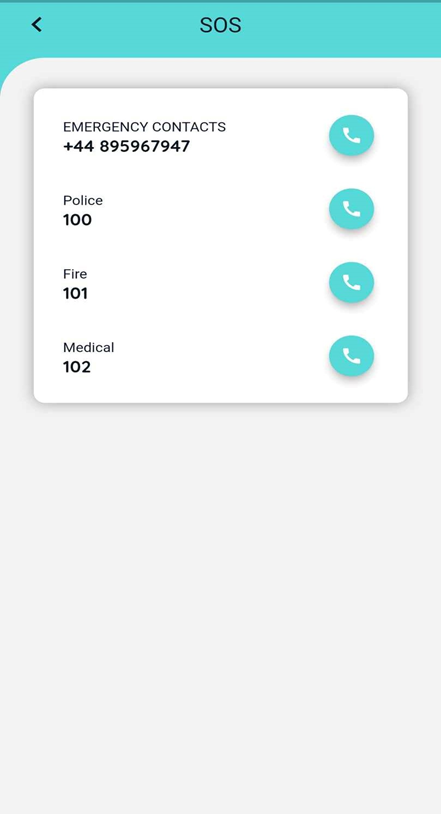
The Emergency Contact Number and Name linked to the Corporate in the profile reflects in the Mobile App.
Note:
-
If there is no emergency Contact Number linked to the Corporate in TripStax Profile, it displays the travel agent's Contact Number in the Mobile App.
-
If there is no emergency Contact Number linked to the travel agent by default it shows the Global emergency Contact Number of the TMC.
Copy PNR
Users can copy the PNR by tapping on it (text) from the Itinerary details screen (as shown below) and paste it into an external website, such as an airline, to check in:
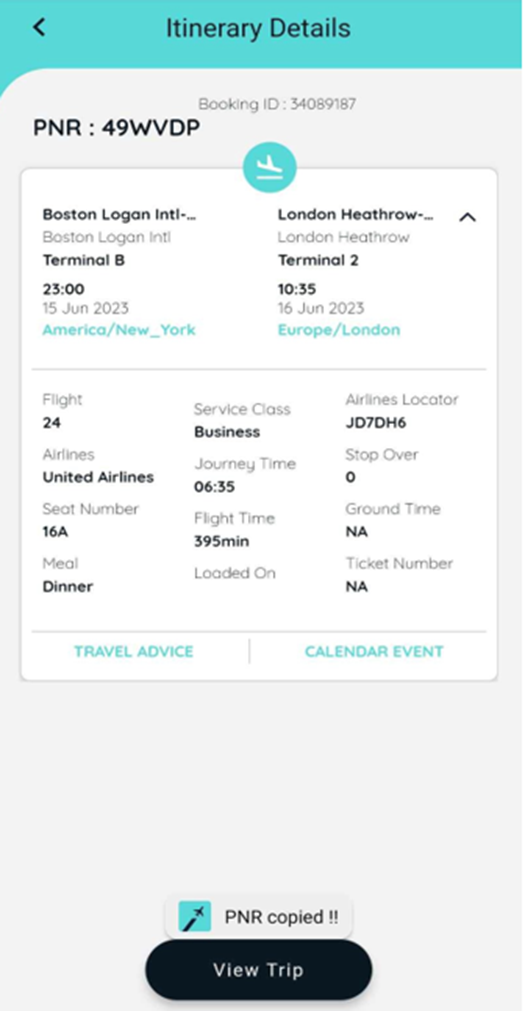
View Trip
Users can now see the entire trip associated with PNR by clicking on the View Trip button, which was present at the bottom of the page (shown in the below screenshot):
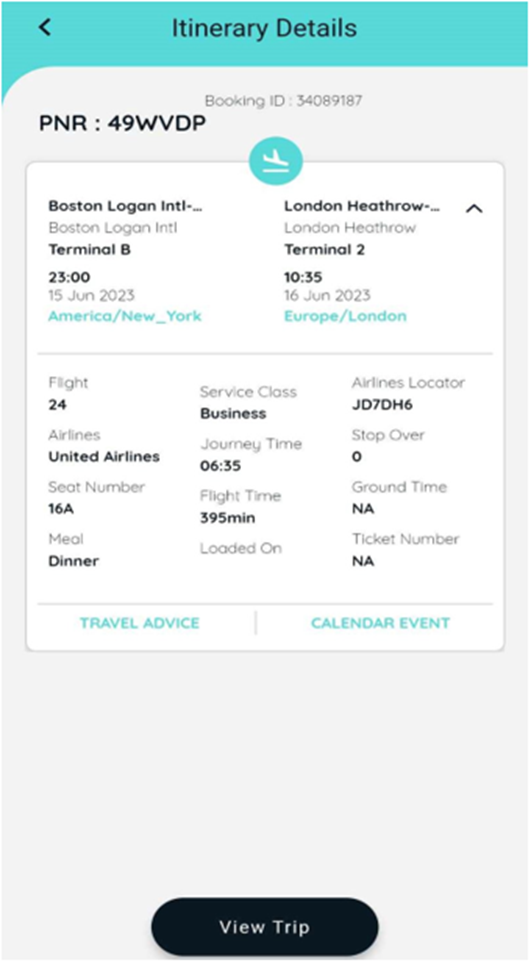
The screenshot below shows the page that displays after clicking on View Trip:
Confirmed Bookings
In the itinerary tab, the user can now access/view confirmed bookings only. This eliminates the duplicate segments and ambiguity: